iCloud Control Panel 2.1.1 for Windows Vista, Win 7, Win 8
How to Use iCloud for Windows
Download it from Apple website
Turn on iCloud: Windows Start menu > Control Panel > Network and Internet > iCloud
Enter the Apple ID associated to your iCloud account and select the iCloud services you’d like to enable.
Please
note that Outlook 2007 or 2010 is required for accessing iCloud email,
contacts, and calendars. Safari 5.1.1 or Internet Explorer 8 or later is
required for accessing bookmarks.
To create an iCloud account you need an iOS device like iPhone, iPad or iPod touch with iOS 5, or a Mac with OS X Lion v10.7.2.
Fully support iPhone5, iOS6, iTunes 10.7
Better experience for apps installation
Available for change the theme as you like
New photo gallery default browse mode
Better experience for database, add right-click menu, list all related functions
Better experience for detect apps upgrading automatically
Turn on iCloud: Windows Start menu > Control Panel > Network and Internet > iCloud
Enter the Apple ID associated to your iCloud account and select the iCloud services you’d like to enable.
Please
note that Outlook 2007 or 2010 is required for accessing iCloud email,
contacts, and calendars. Safari 5.1.1 or Internet Explorer 8 or later is
required for accessing bookmarks.
To create an iCloud account you need an iOS device like iPhone, iPad or iPod touch with iOS 5, or a Mac with OS X Lion v10.7.2.
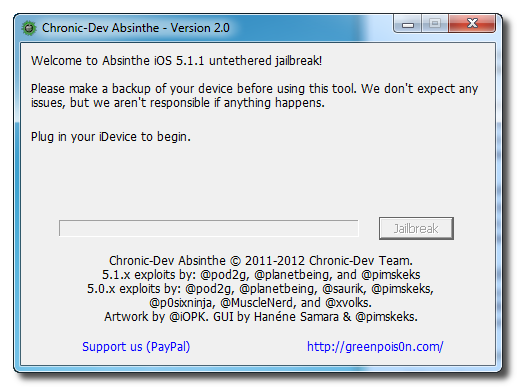
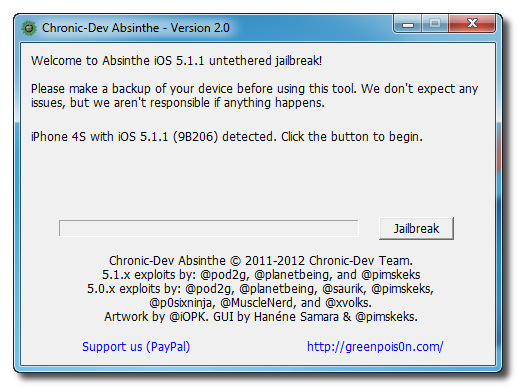
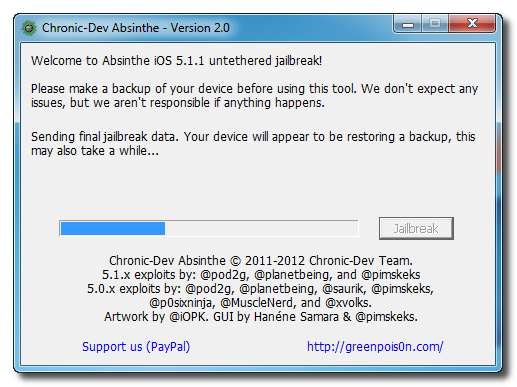
4. จากนั้นได้ไอคอน Cydia ที่หน้า home 5. Enjoy Untethered Jailbreak!!
Tips
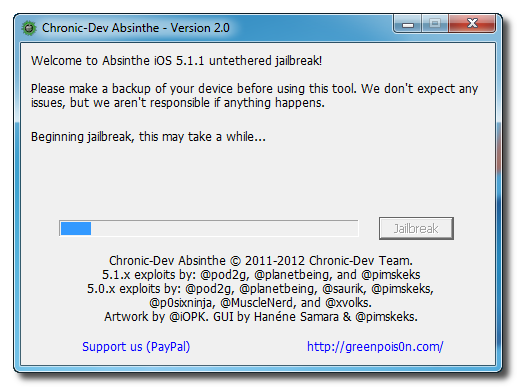
ใครมีปัญหา Beginning jailbreak, this may take a while รอนาน เกิดจากเครื่องต้องจำลองไฟล์ backup ซึ่งถ้ามีข้อมูลนานมากก็รอนานมาก ให้ Restore เป็นเครื่องใหม่ (จนถึงขั้นตอนรูปด้านล่าง แต่ยังไม่ต้องกด Setup as new iPhone) แล้วไป Jailbreak ด้วย absinthe ให้เสร็จ(จะใช้เวลาไม่มาก ไม่เกิน 2 นาที) แล้วค่อยกด restore from backup of : …. หากติดปัญหา ERROR : Could not connect to lockdownd 1. เข้าไปที่ Settings > General > Reset > Reset All Content and Settings 2. ให้ลบไฟล์โฟลเดอร์ Absinthe 2.0 ออกจากเครื่องให้หมด แล้วดาวน์โหลดมาใหม่จะดีมากๆ 3. หาก reboot computer รอบ 1 จากนั้นค่อยเริ่มอีกครั้ง